Special thanks to Lance Newhall of Newhall Tractor Service in California and Robert Bratton with helping me put this article together.
Many people ask me how to adjust the clutch on their B5100, B6100 or B7100. Per the service manual there is a special tool required to adjust the clutch. Here is how to adjust it without the special tool..
3 things you’ll need.
- A set of calipers. Digital is easiest for beginners and are cheap at harbor freight or amazon.
- A dial indicator. Also cheap at harbor freight or amazon
- A magnetic base for your dial indicator. Also inexpensive but i did find that the one harbor freight sells the arms are really too short
First there are 2 things that are very important to adjusting the clutch. If you accomplish these 2 things then you will be all set and done. Now accomplishing these 2 things without splitting the tractor and reconnecting multiple times is the tricky part but I will explain how to avoid some of that below.
- All 3 fingers must be adjusted exactly the same.
- With the tractor back together and clutch housing bolted to the engine and clutch pedal free play adjusted according to the manual, your clutch pedal adjuster should be at the beginning of the adjustment not the middle or the end. If you are at the middle or the end of the adjustment then you need to split it apart and readjust the fingers accordingly.
Now with those 2 things accomplished you now have a working clutch that is adjusted properly and will give you many hours of service.
So the next part of the article is how can you adjust the fingers the first time and be reasonably close so you don’t have to keep splitting the tractor.
So we know the manual gives us a spec of the fingers should be 44.8-46.2mm or 1.764-1.819 inches from the flywheel to the surface of the finger.
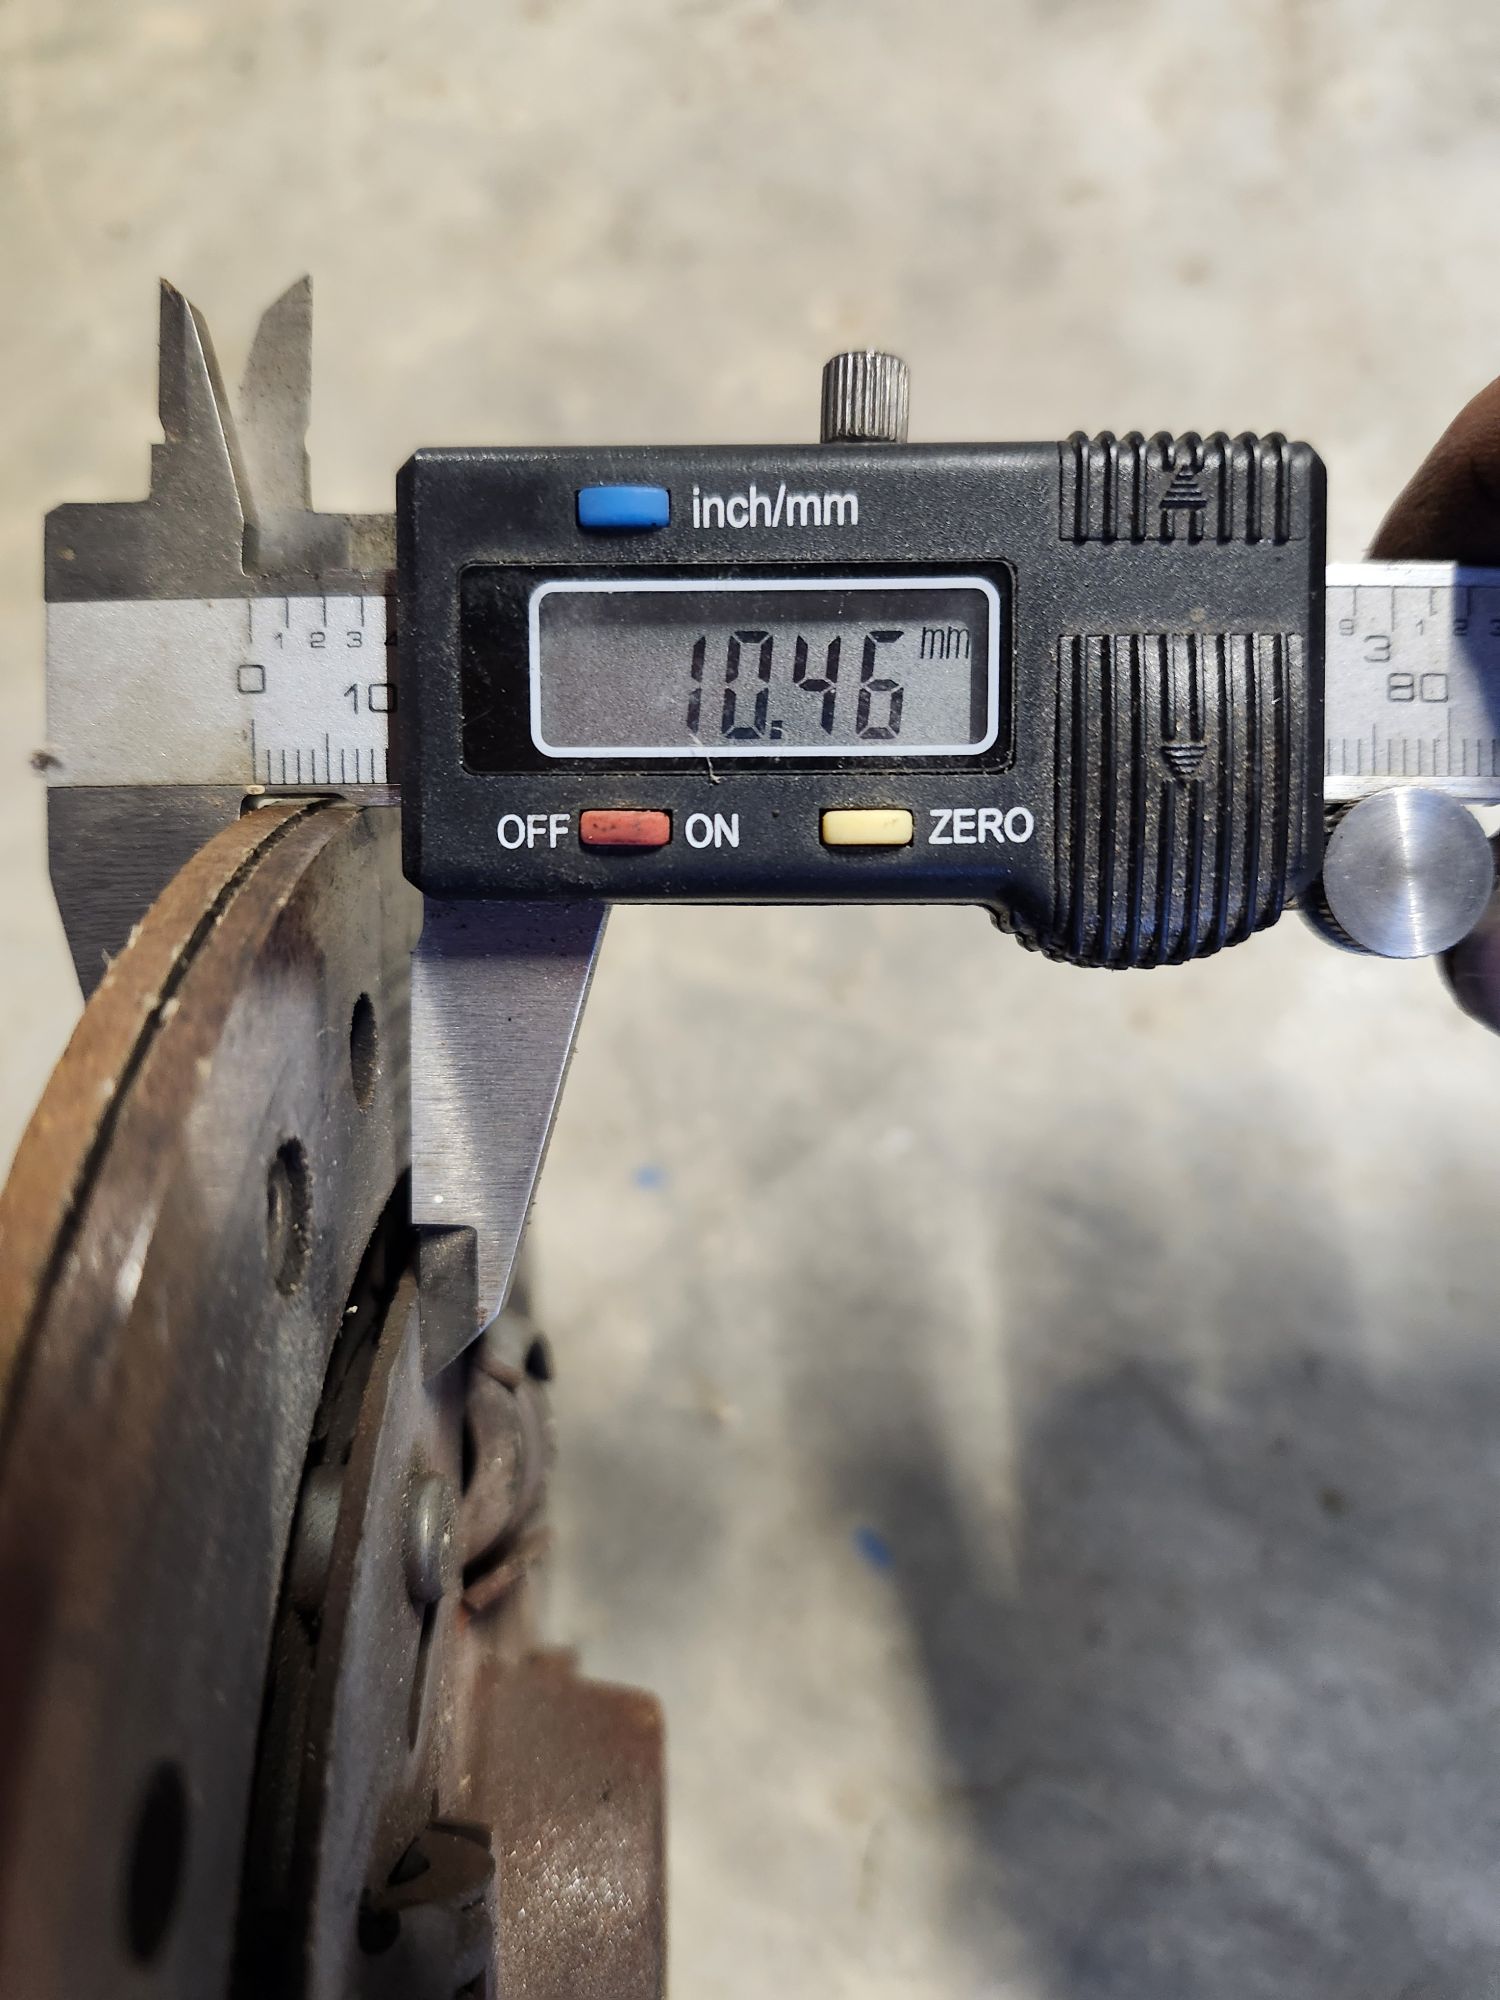
So here’s how we get pretty close to that. Using your calipers measure the width of your clutch disc from the flywheel surface side to the spring plate on the pressure plate side.
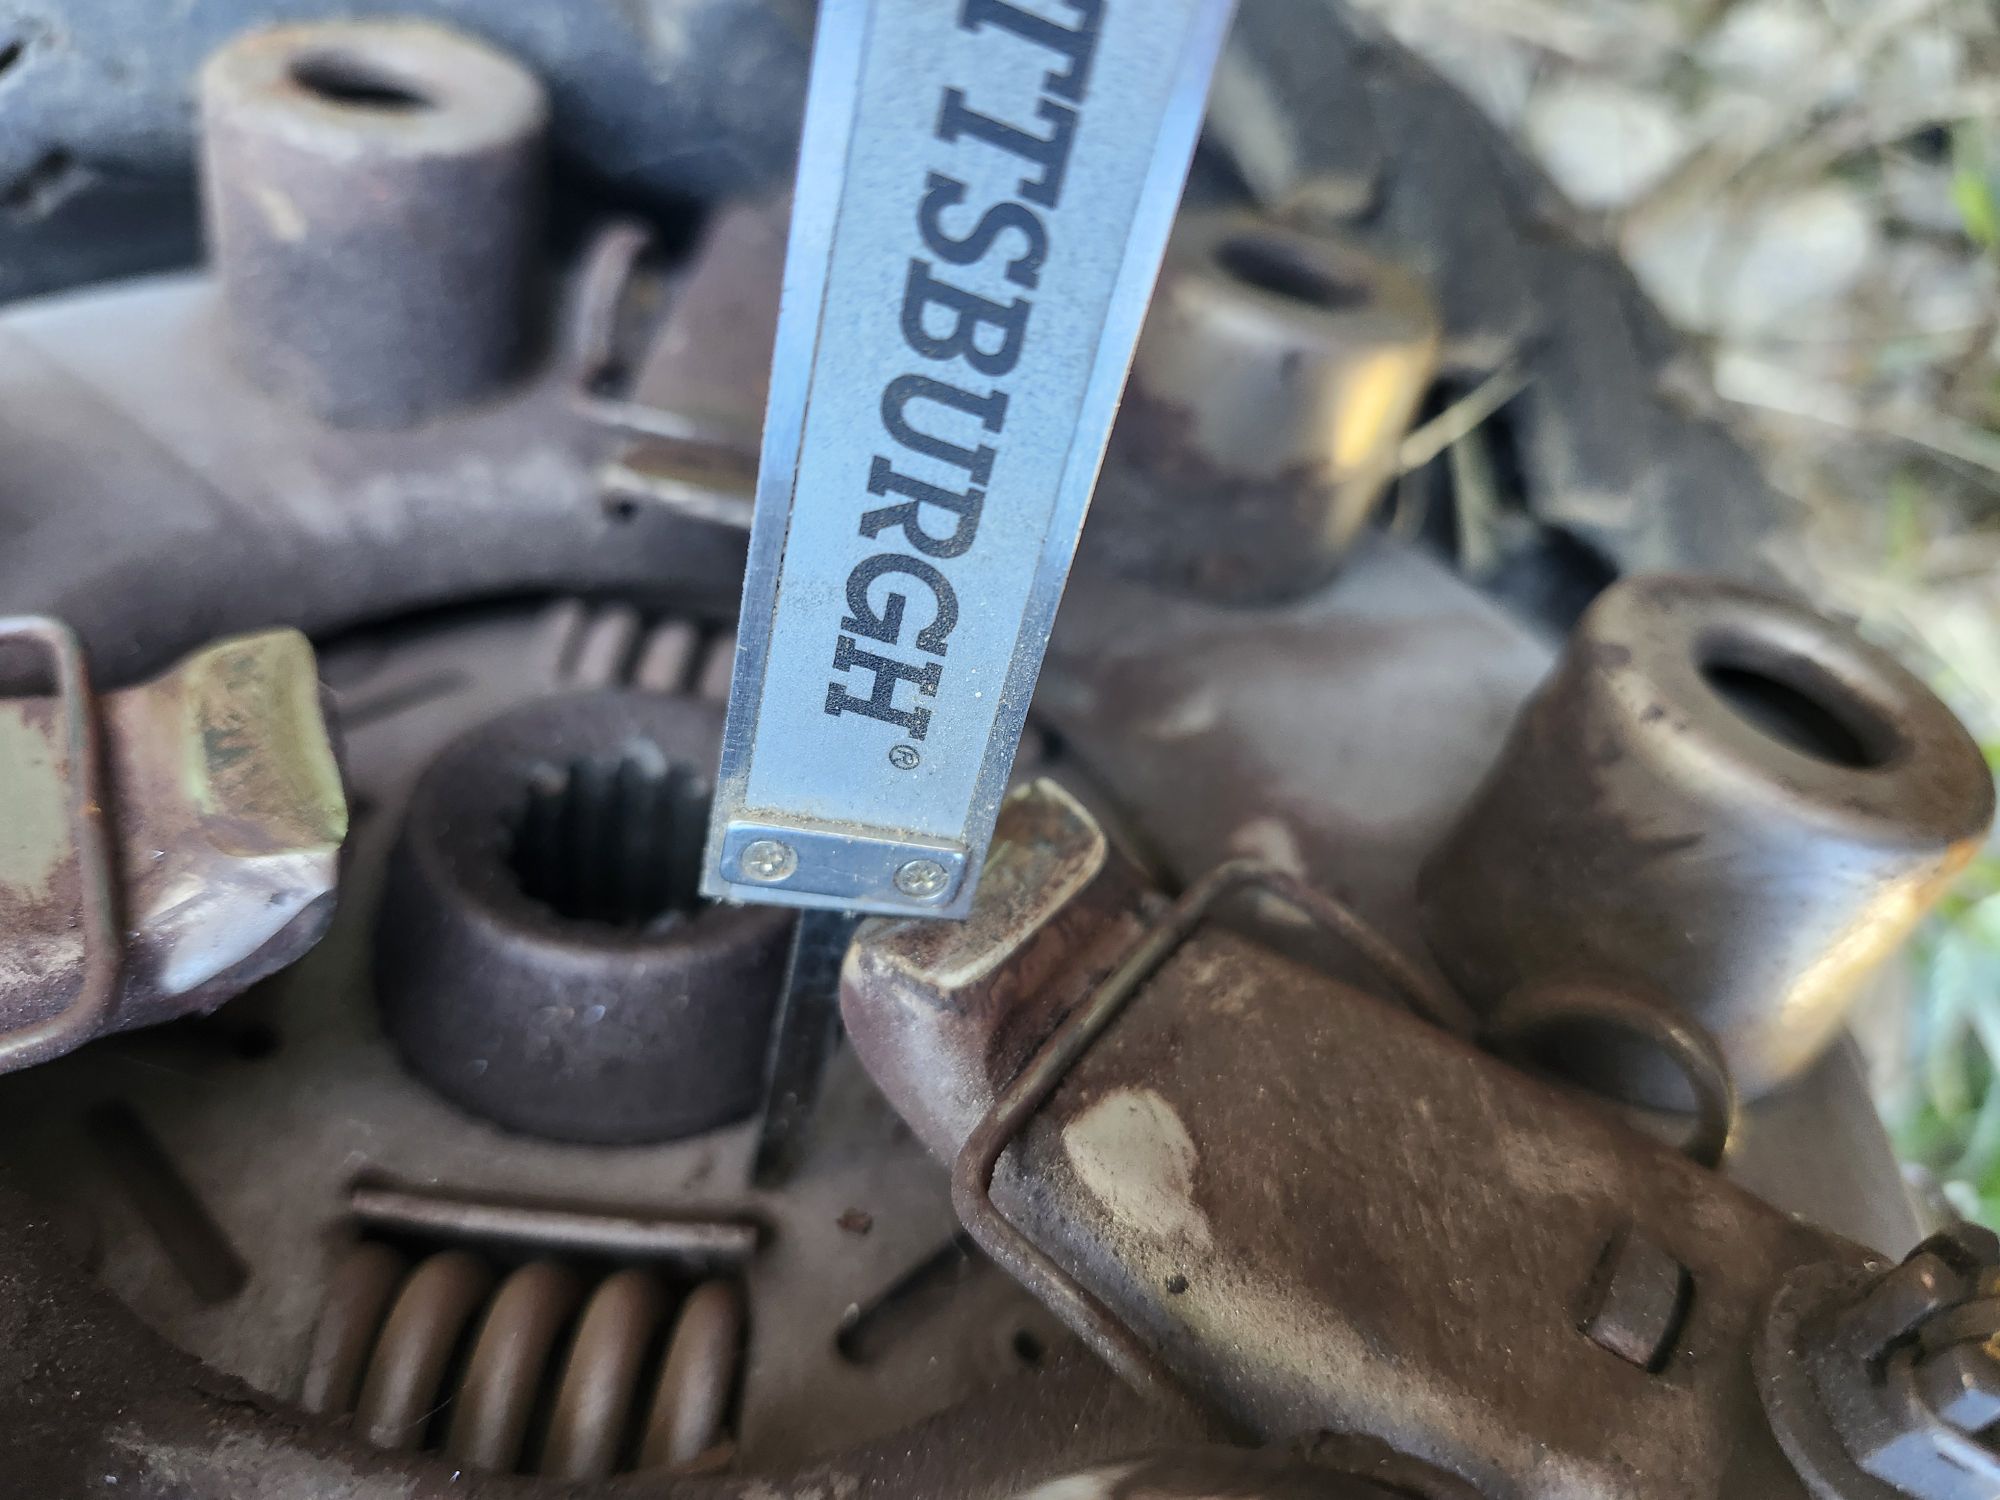
Now take that measurement and subtract it from our know measurement of 45.5mm (I split the difference of 44.8-46.2). And write this down. Now put your disc and pressure plate on the tractor using your clutch spline tool to center it (these can be ordered on amazon or made pretty easily). Now using the end of your calipers measure the depth of 1 finger and adjust it to your measurement that you wrote down.
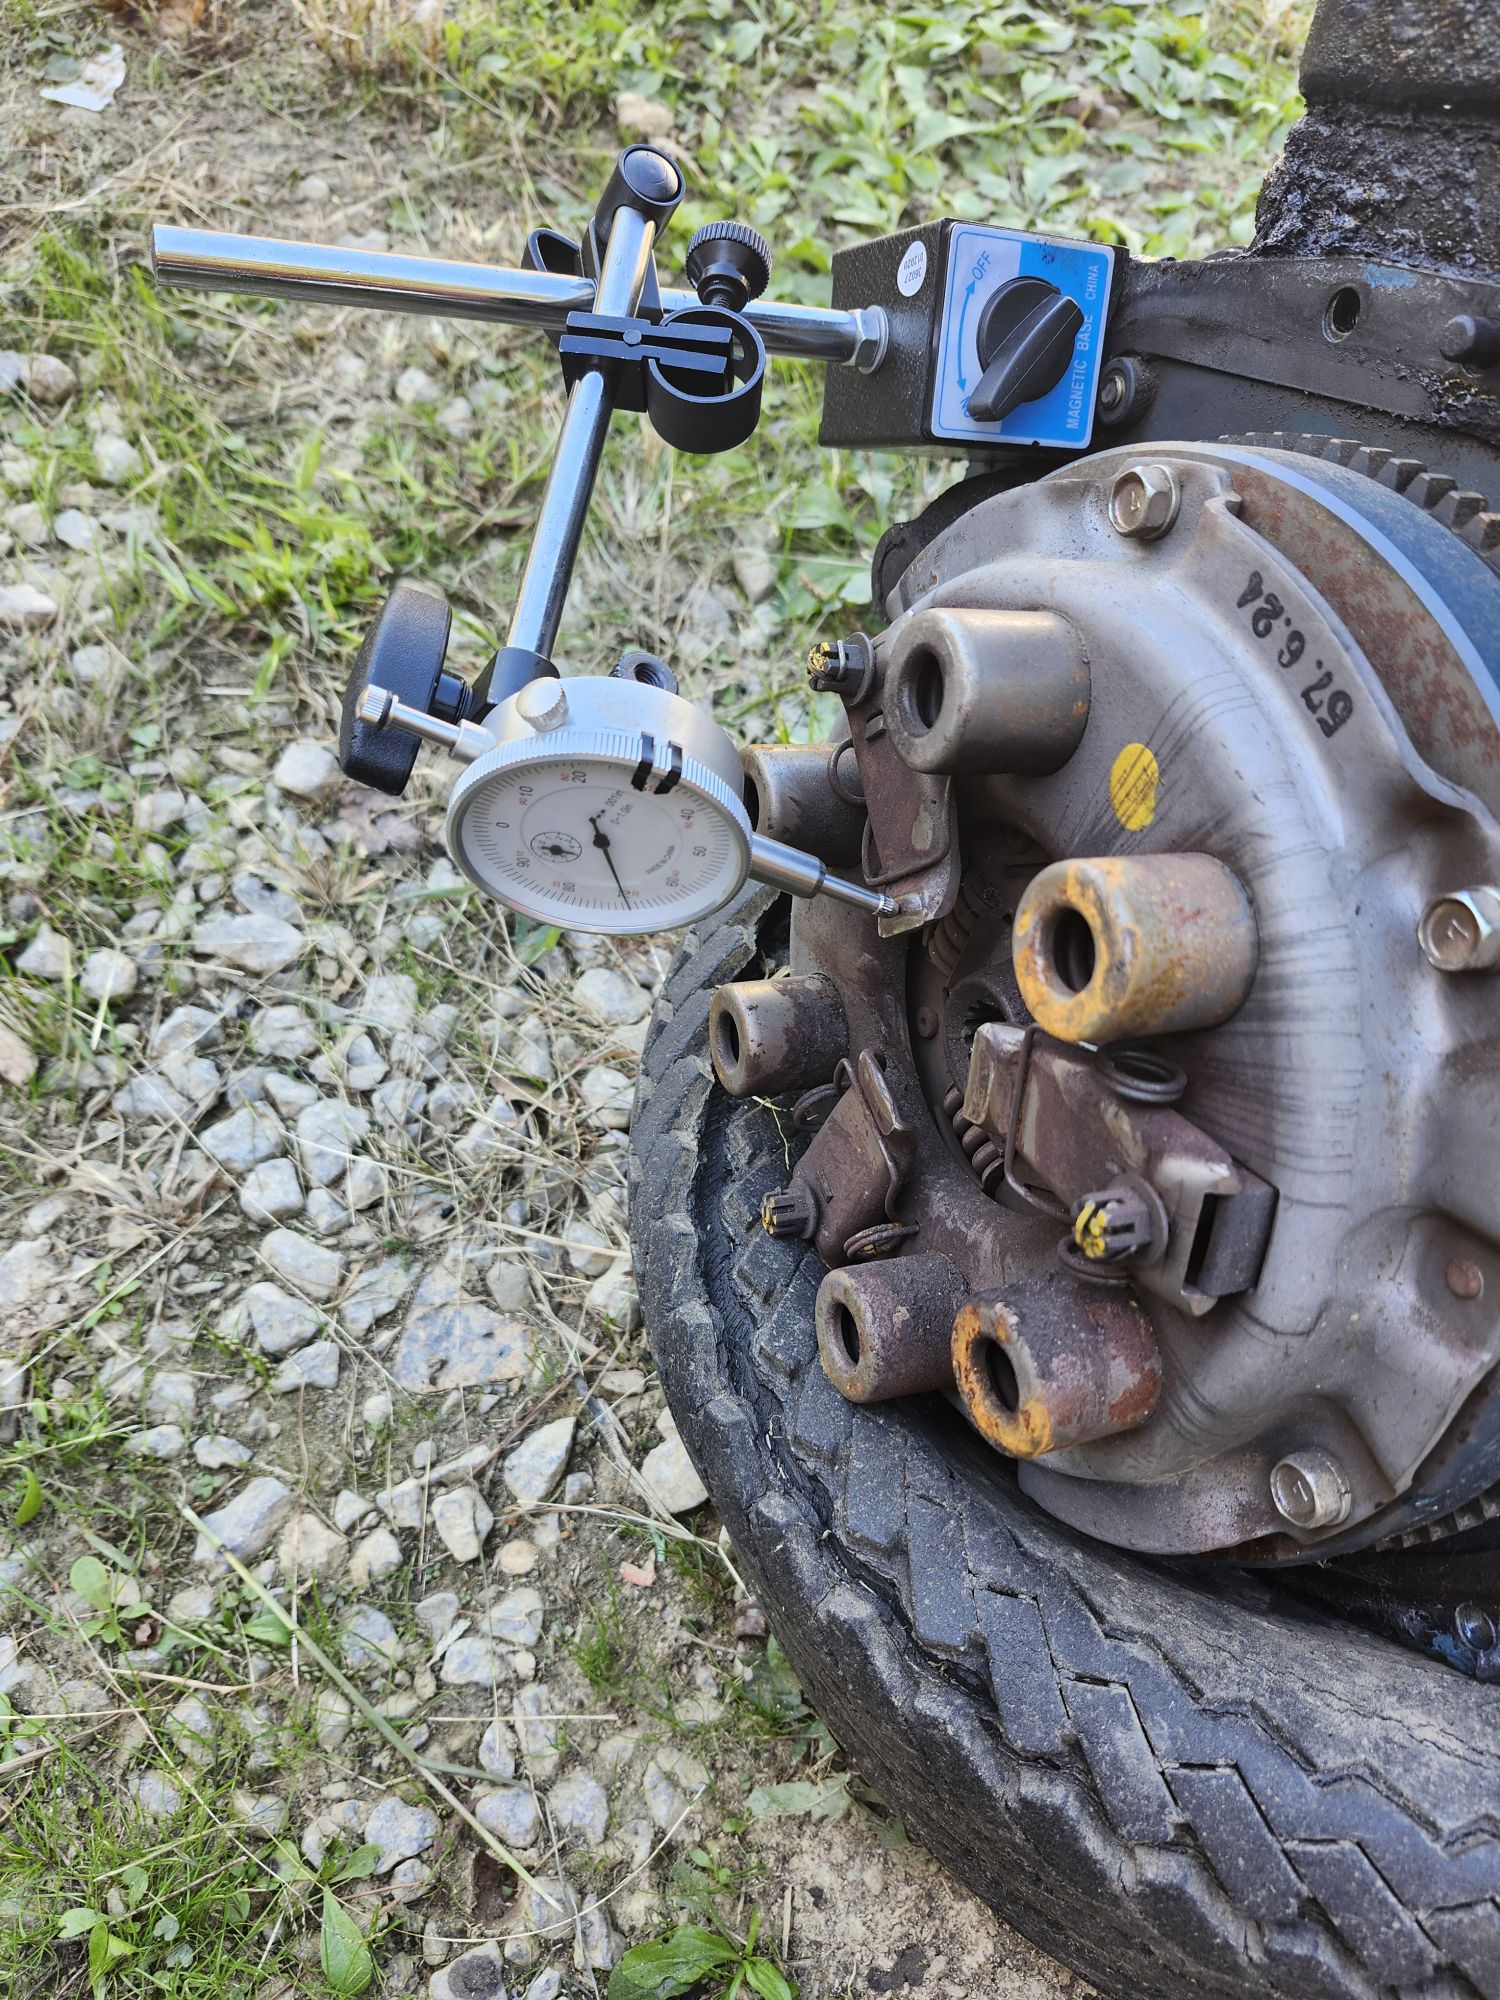
Put a mark on this finger to keep track of which one you measured. Now using a magnetic base and a dial indicator set it up so that the end of the dial indicator tip is perpendicular to the top of the arm that you marked (my photo was a quick mock up for the purpose of this article)
Make sure the magnetic base clears the flywheel and clutch. Now set the dial indicator to “0” on the finger you marked. Now youll want to rotate the flywheel and set the other 2 fingers to the same “0” on the dial indicator.
Caution as you rotate the finger off the indicator it will drop and if you dont lift the tip of it up before you hit the next finger it will knock your measurement off. Also a basic dial indicator will do an inch of travel up and down. The hand on the dial makes several revolutions so make sure you know which “0” your set at so all the levers end up the same.
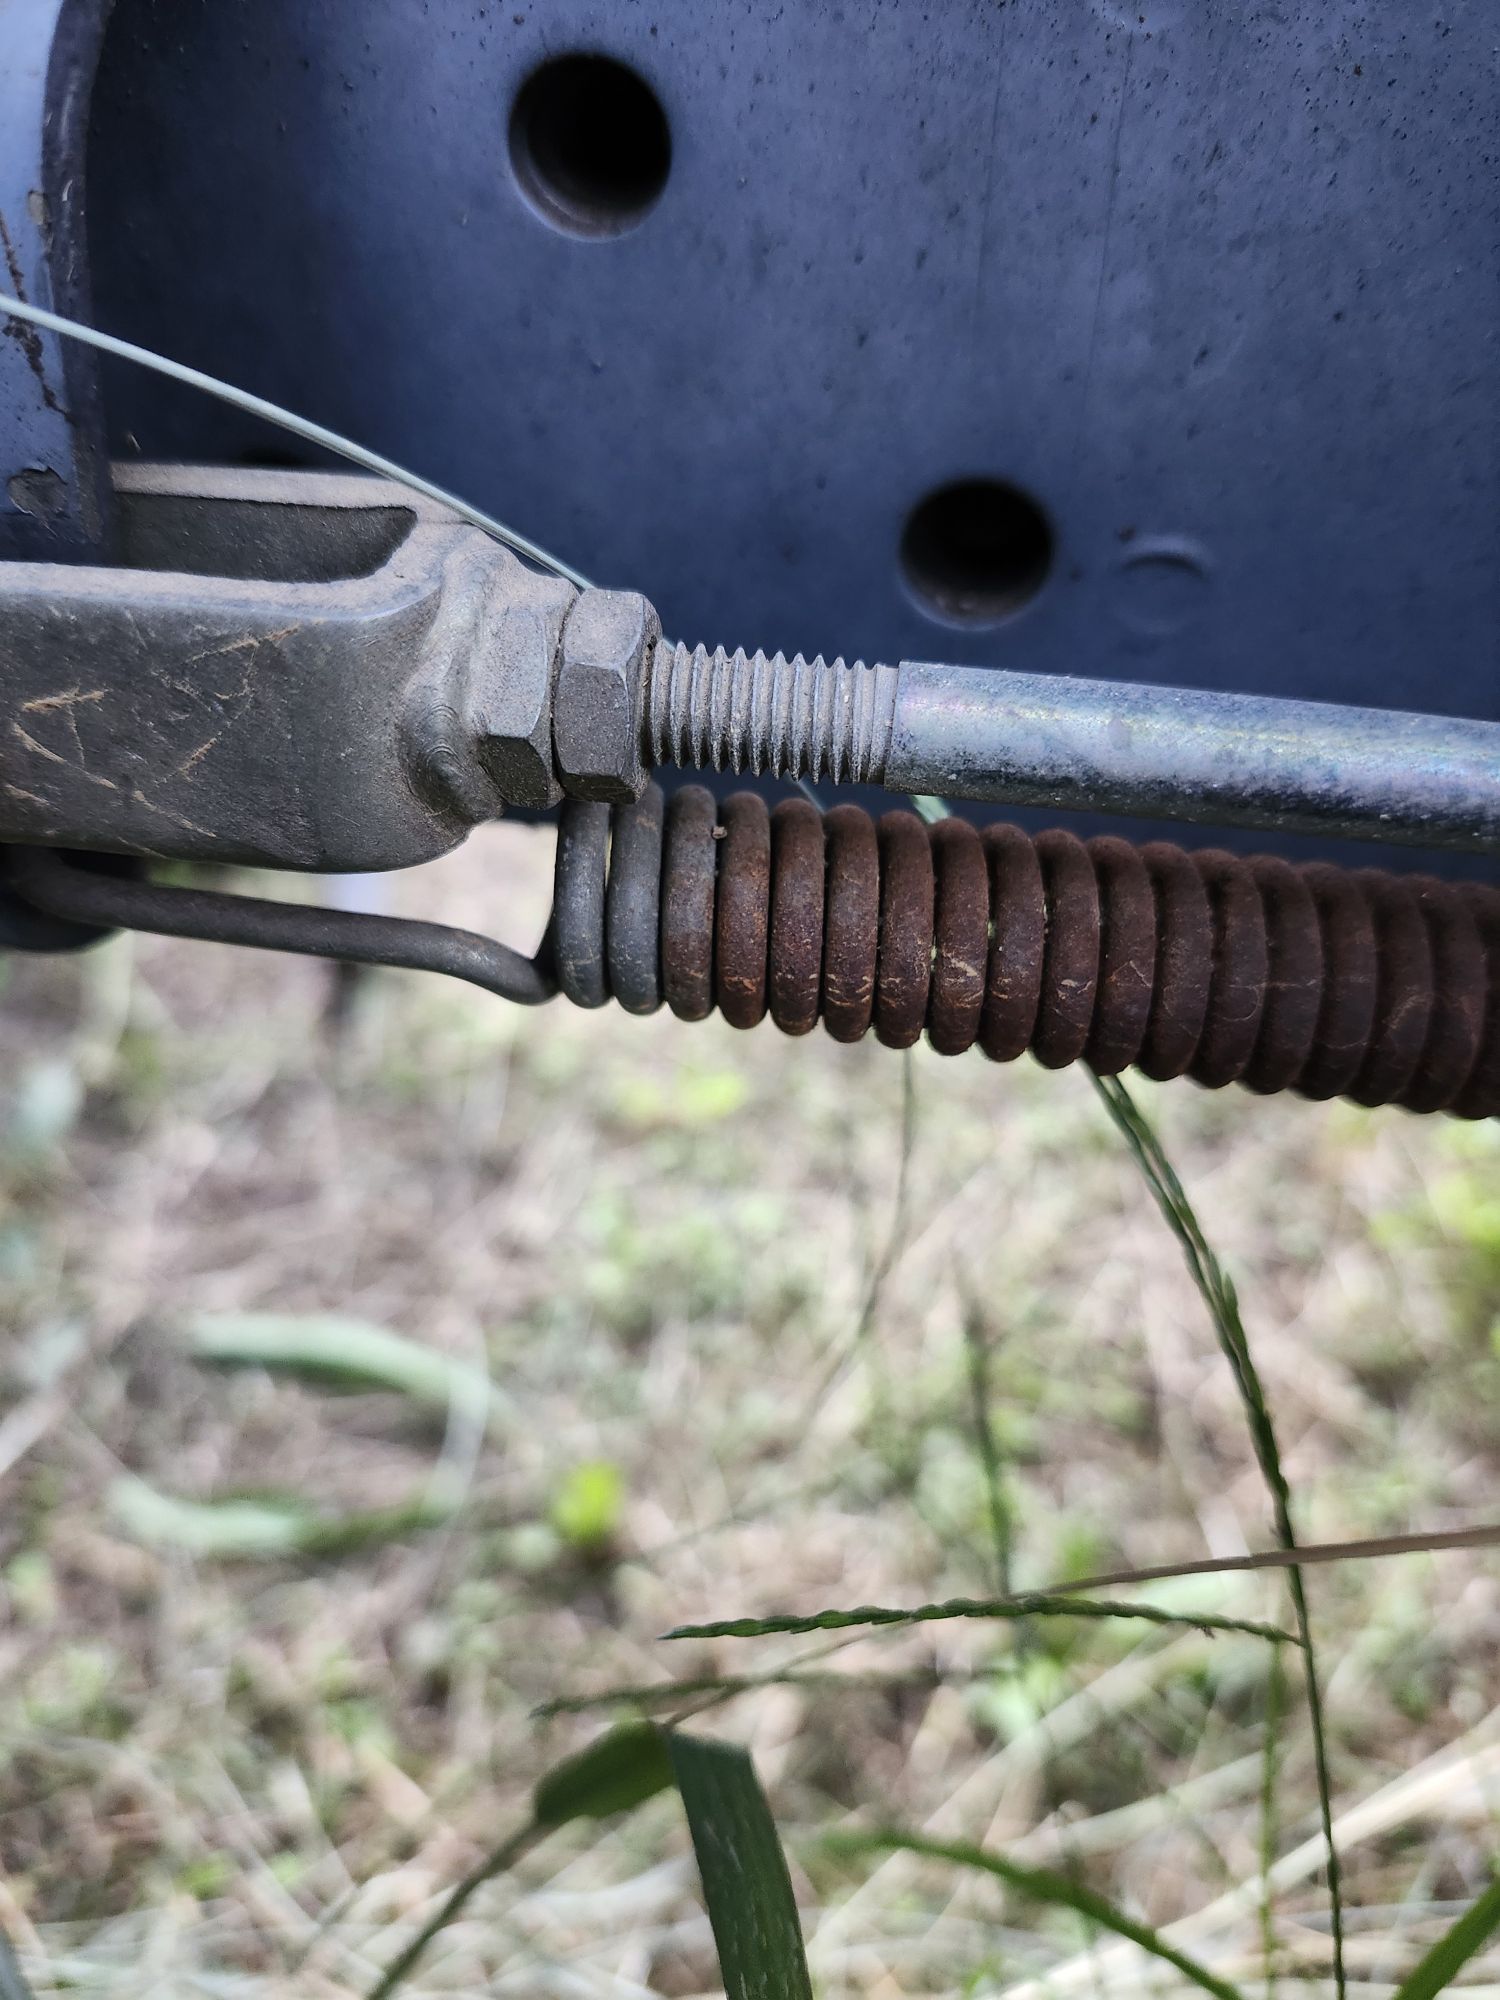
Now you have the clutch adjusted pretty dang close to spec and you have each finger exactly the same. Now bolt your tractor back together and adjust your clutch pedal free play per the manual you should be pretty close to the beginning of the adjustment. Here is a picture of the adjuster close to the beginning.
Hope this article helps you. If you have any questions please send us a message using the contact us button at the top. Thank you


